
A day at saw mill ‘Het Jonge Schaap’


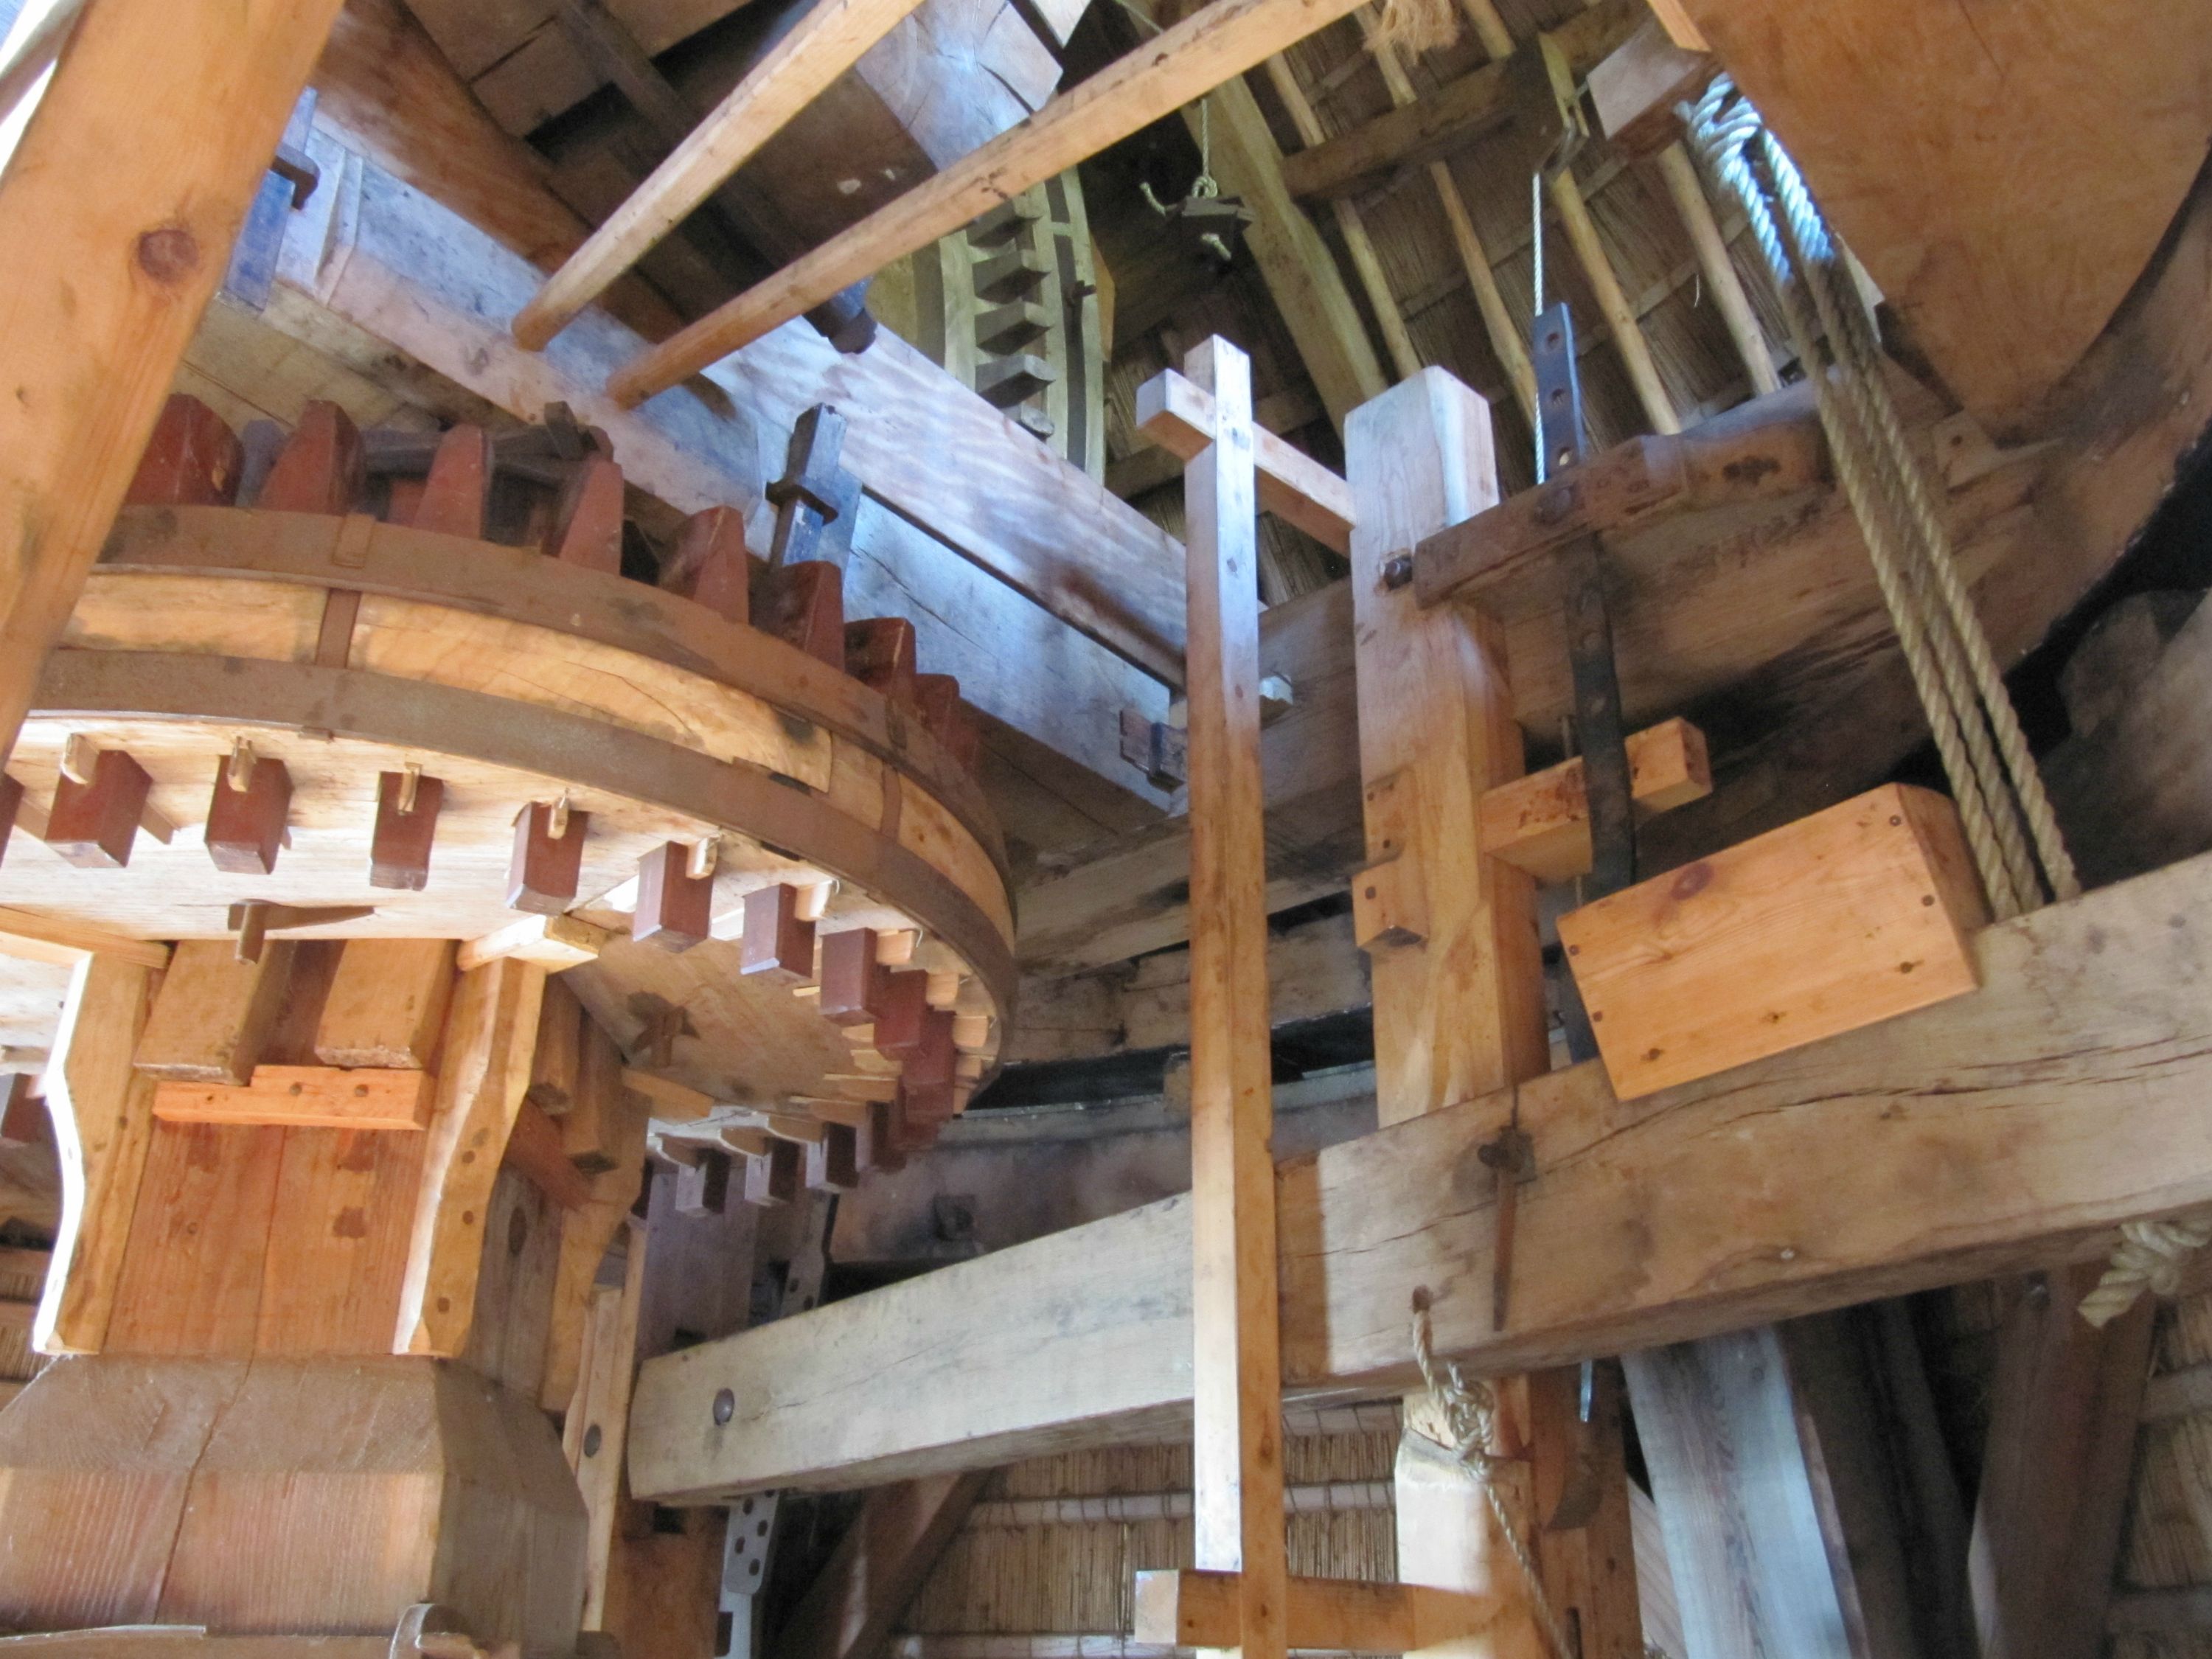
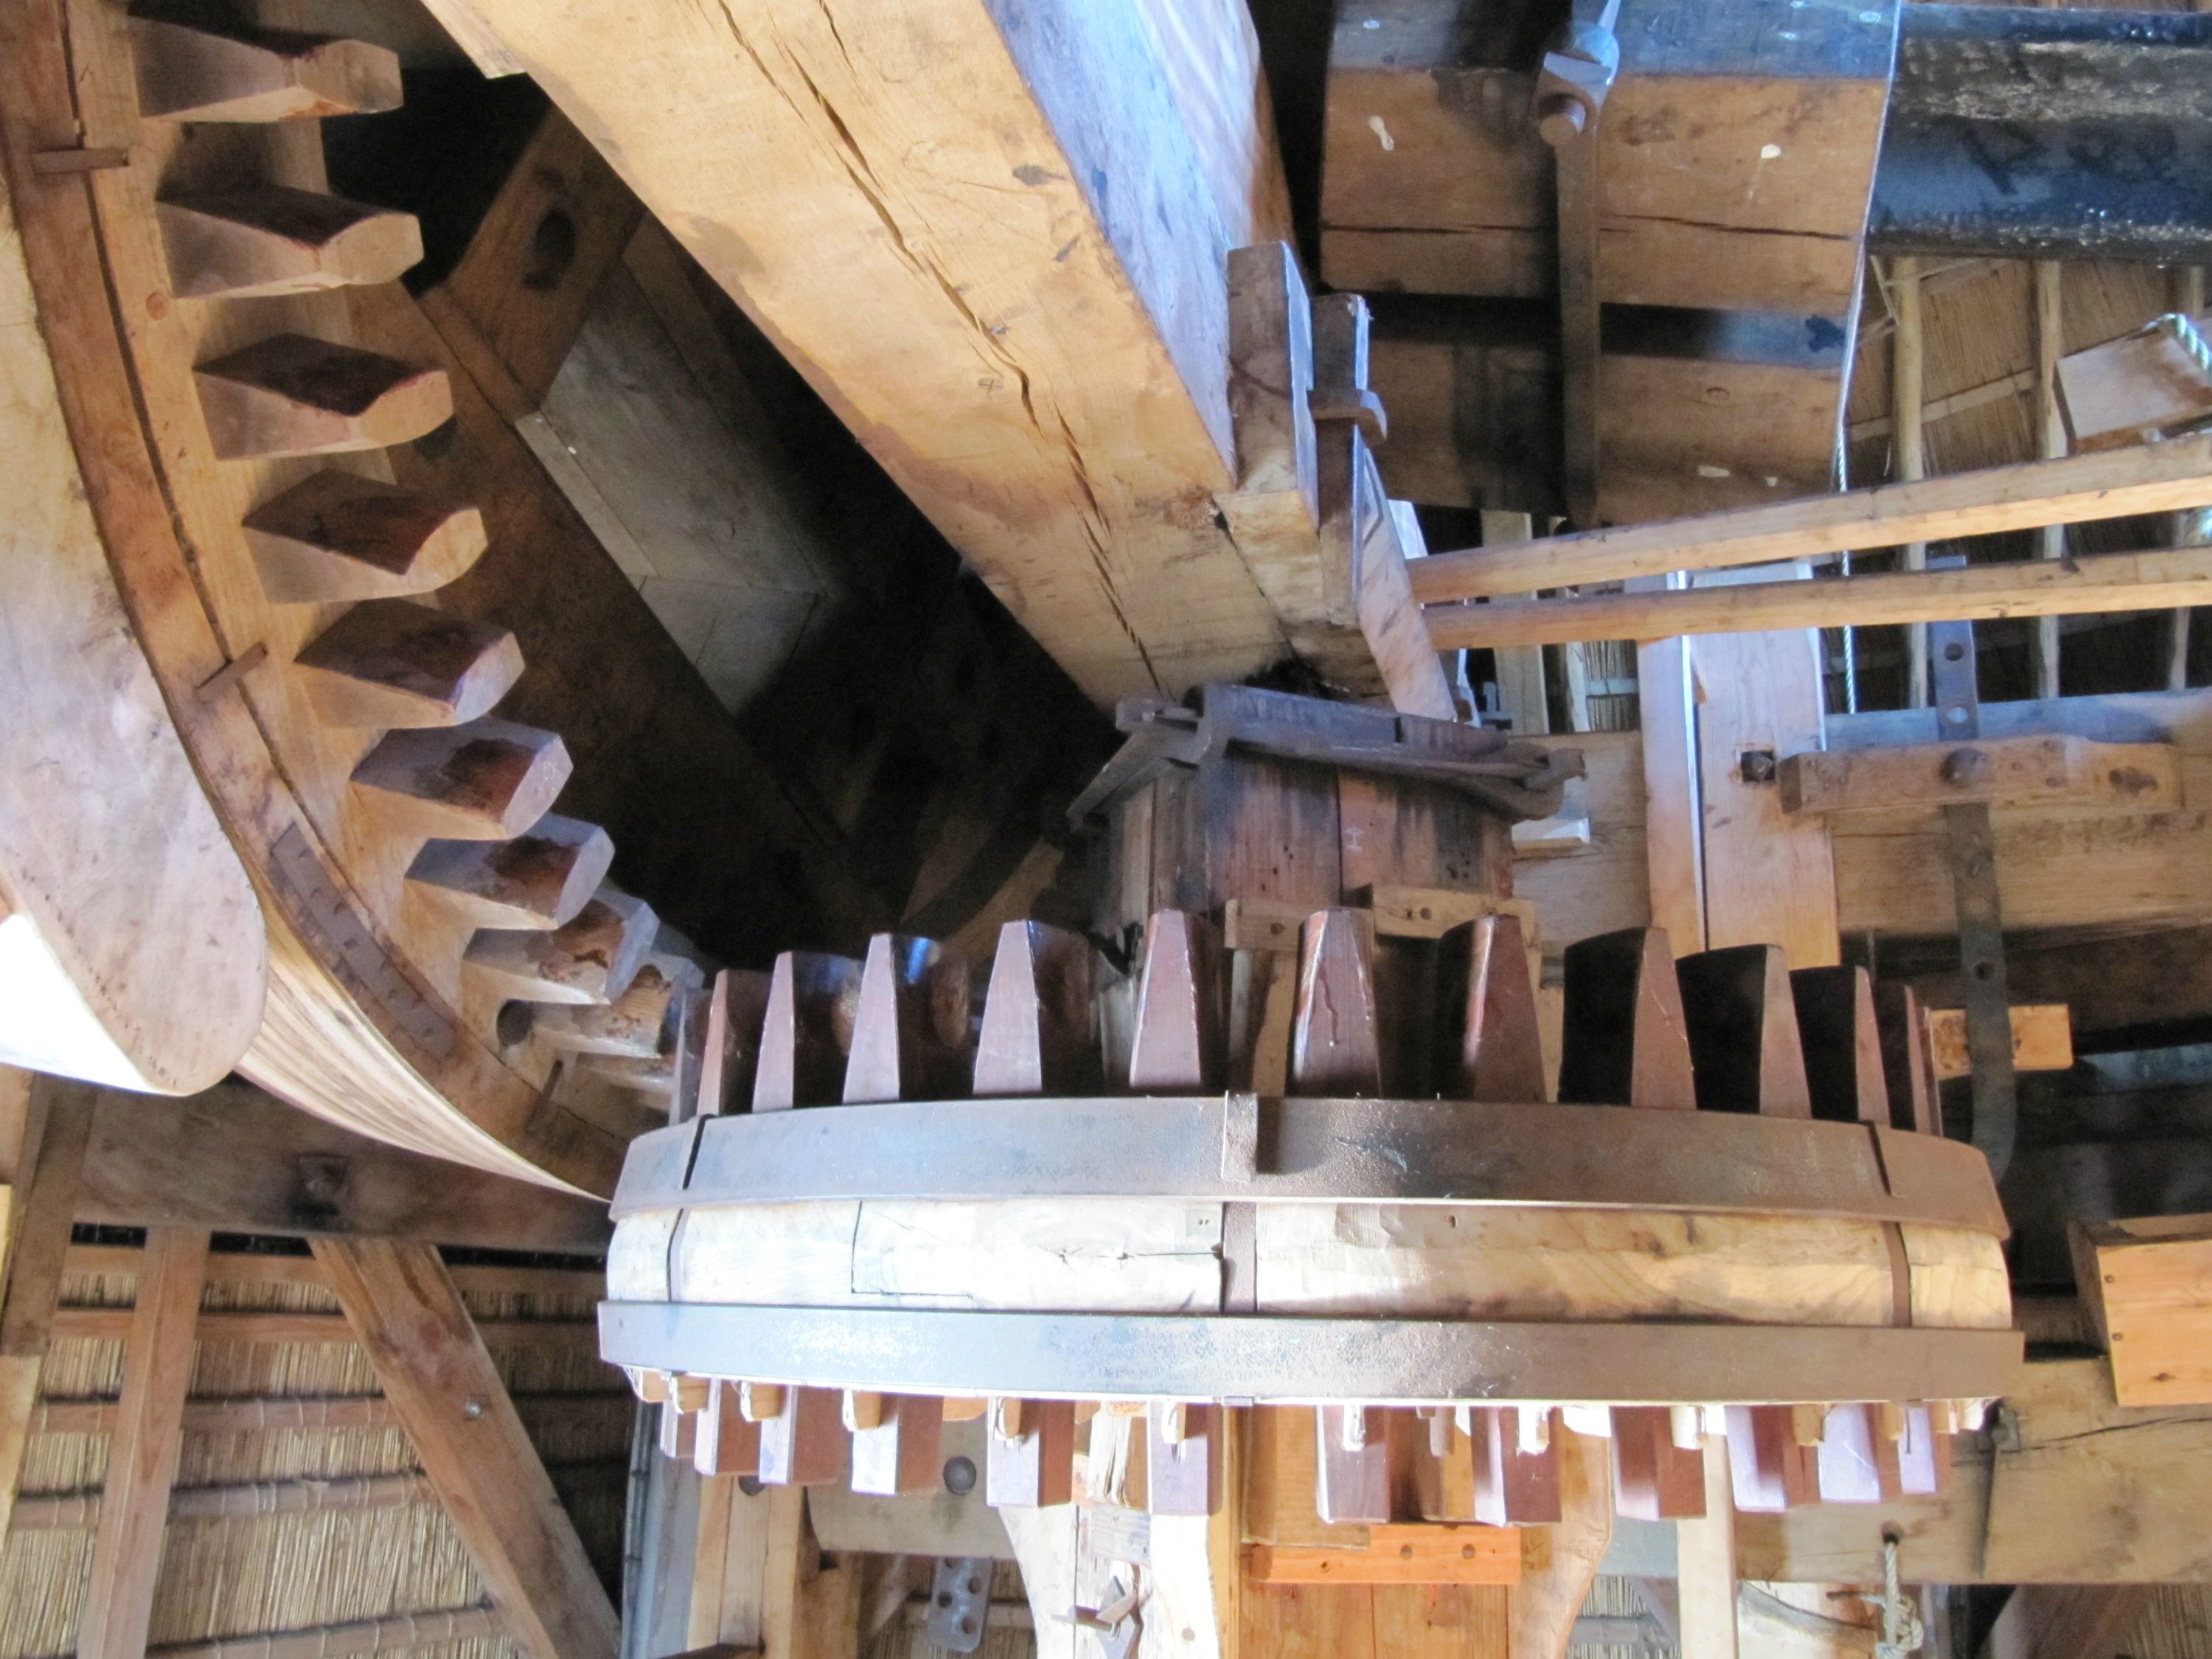


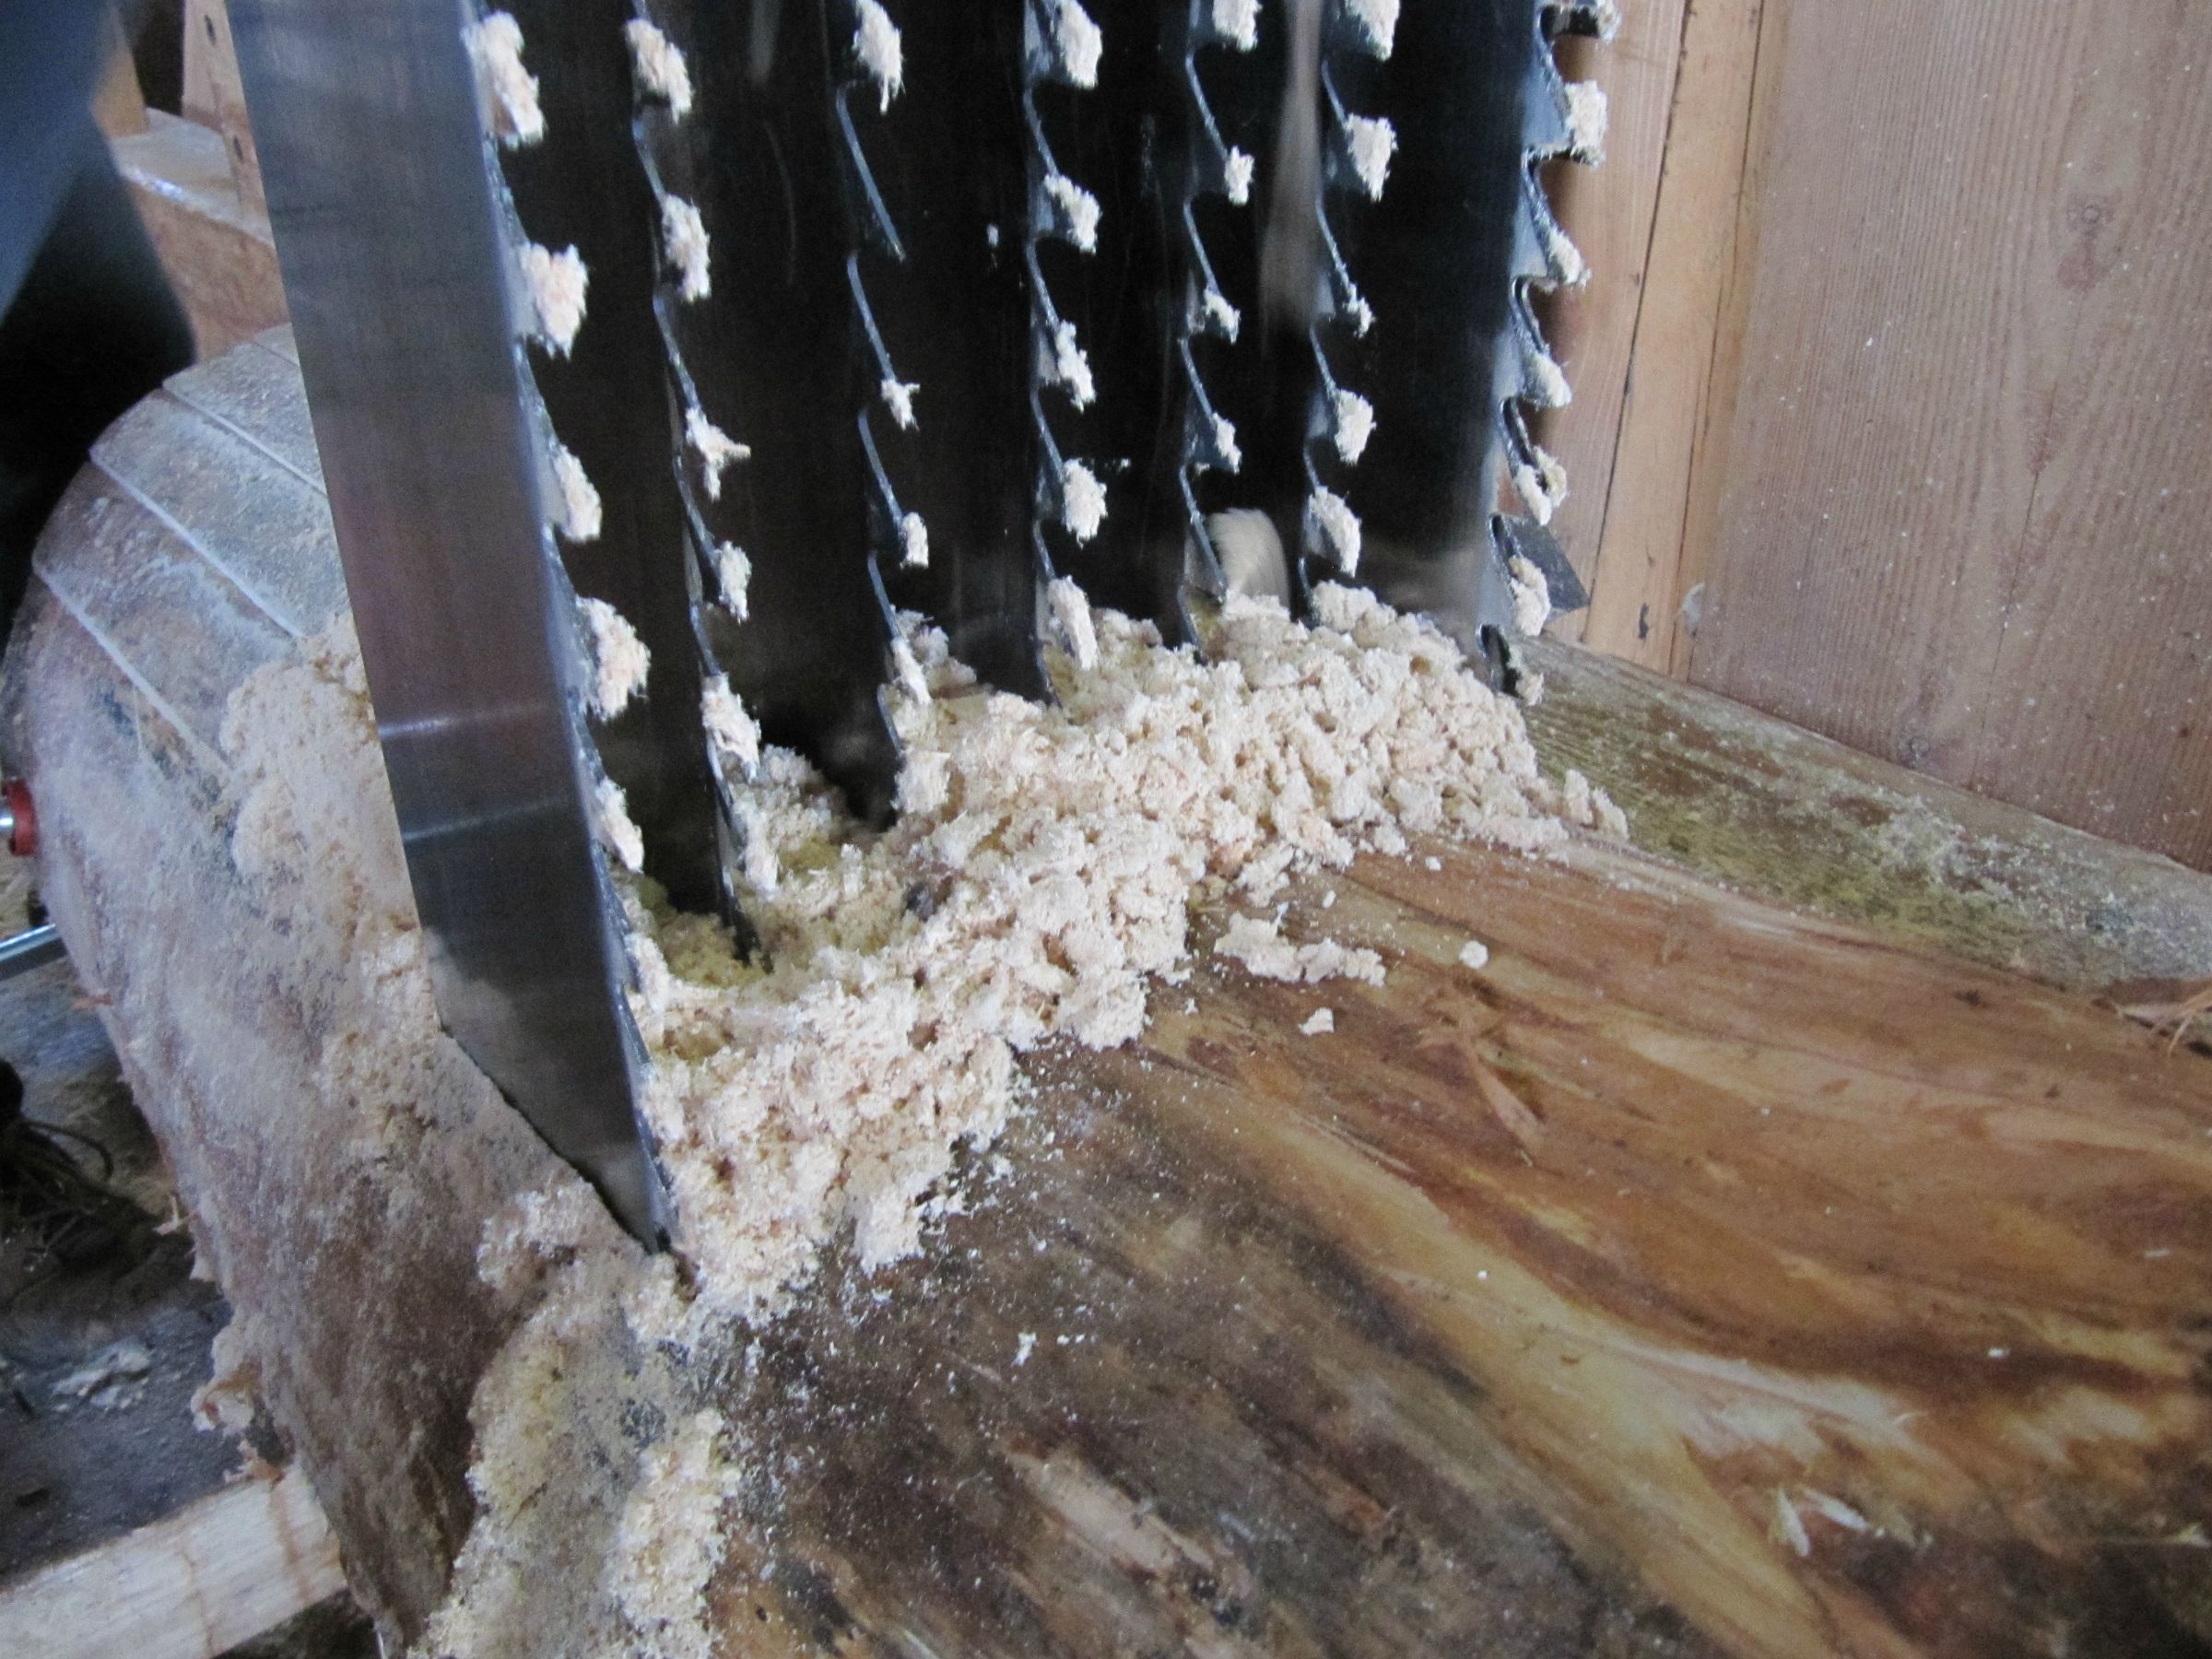


Found on Imgur
Advanced Load Testing with Gatling
Gatling is an incredibly useful tool for stress testing web applications based on real-world user interaction and automatically outputs beautiful dynamic HTML reports to allow you to analyze the results of the tests. To start testing with Gatling download the latest version from the Gatling project page and unzip the contents. In the ‘bin’ directory of the extracted folder are two sets of executables: gatling and recorder. The Recorder application stands of a proxy server which will record all user interaction with the target site, and the Gatling application is used to replay the recorded session. If you’re not already familiar with recording and replaying scenarios the Gatling Quickstart guide is an excellent resource to get you up to speed.
For most websites the basic ‘Record’ and ‘Replay’ functionality works well, but if you need to POST data to a site with CSRF protection you’ll need to update the auto-generated code to account for it. I was recently tasked with load testing a customer application prior to release to the public with just this type of protection. The site was built using Java Server Faces and each POST request is protected by a javax.faces.ViewState parameter which acts as a CSRF token and is updated every page load. If the correct viewstate is not submitted the POST will fail.
Handling the ViewState
To get around this issue three new functions are required to capture the current viewstate from the previous page request and submit it on subsequent requests:
val jsfViewStateCheck = regex("""id="j_id1:javax.faces.ViewState:1" value="([^"]*)"""")
    .saveAs("viewState")
def jsfGet(name: String, url: String) = http(name).get(url)
    .check(jsfViewStateCheck)
def jsfPost(name: String, url: String) = http(name).post(url)
    .formParam("javax.faces.ViewState", "${viewState}")
    .check(jsfViewStateCheck)
The first item is a check function which does a regex match on the page looking for the ViewState (Note: If there is no viewstate present the check will report as an Error and show up as a KO in the report).
The second function is an override of the Gatling GET method which checks the response data using the check method and sets the “${viewState}” variable.
The third function is an override of the Gatling POST method and is similar to the GET method in that it will set the “${viewState}” variable, but also adds the previous “${viewState}” as a form parameter.
To implement these functions in your load test you will need to alter all of the recorded GET and POST requests to use the new functions as shown below:
GET
The GET request code from the recorded session
exec(http("request_identifier")
    .get("http://jsfsite.com/page"))
would be updated to
exec(jsfGet("request_identifier","http://jsfsite.com/page"))
POST
The POST request code from the recorded session
exec(http("request_identifier")
    .post("http://jsfsite.com/page"))
would be updated to
exec(jsfPost("request_identifier","http://jfssite.com/page")
    .headers(headers_0)
    .formParam("form_field", "payload"))
The jsfPost method will automatically append the viewstate form parameter to the request and the request will succeed.
Handling Uploads
File upload requests need to be handled a little bit differently. HTML file upload forms set the enctype=”multipart/form-data” attribute which changes how browsers submit the data to the web server. Instead of sending the data as the POST payload the file contents an form field data are sent delimited by a random numerical string called a boundary (Here’s the RFC for those curious). In order to send the file to the web server we need to construct this type of request. To do so requires different methods than the formParam method we used previously as shown below.
exec(http("upload_request")
    .post("http://jsfsite.com/upload")
    .headers(headers_0)
    .bodyPart(StringBodyPart("form_field_1","payload"))
    .bodyPart(StringBodyPart("form_field_2","payload"))
    .bodyPart(StringBodyPart("javax.faces.ViewState","${viewState}"))
    .bodyPart(RawFileBodyPart("file_upload_file","some_file.txt"))
 )
.check(jsfViewStateCheck)
Notice that instead of using the formParam method to set the fields we use the bodyPart method instead. This tells Gatling to submit the payload as a multipart form request instead of a standard POST. To set the form fields new BodyParts must be created depending on the type of data. String fields use the StringBodyPart and files use the RawRileBodyPart. The file that you wish to upload should be located in the $GATLING_HOME\user-files\bodies\ directory.
A final call to the jsfViewStateCheck function is used to update the “${viewState}” variable once the request completes.
Processing 10 Million SQL Rows in a Reasonable Amount of Time
Overview
A while ago I was talking with someone about high performance MySQL trying to figure out how fast we could make updates to the database. This conversation later led me to my lab where I devised a simple scenario to see just how fast we could push the database:
- Create a simple 2-column table consisting of a primary key and a 45 character string of text
- Populate the table with 10 million rows of random data
- Alter the table to add a varchar(255) ‘hashval’ column
- Update every row in the table and set the new column with the SHA-1 hash of the text
The end result was surprising: I could perform SQL updates on all 10 million rows in just over 2 minutes. If I could lock the tables so that no other processes could write to them during script execution I could perform the update in 30 seconds.
Operating Environment
Below is the hardward and software setup that I used to run the test.
| Operating System | Fedora 21 (4.1.6-100.fc21.x86_64) |
| MySQL Version | 5.6.27 |
| CPU | Intel(R) Core(TM) i5-2500K CPU @ 3.30GHz |
| RAM | 8GB |
| Storage | 2x OCZ-SOLID3 (RAID 0)
~640 MB/s reads ~775 MB/s writes |
| Java Version | openjdk version “1.8.0_65” |
Let’s Get Started
The first thing we need to do is to create a table to store the records:
CREATE TABLE `bulktest` (
  `id` int(11) NOT NULL AUTO_INCREMENT,
  `text` varchar(45) DEFAULT NULL,
  PRIMARY KEY (`id`)
) ENGINE=InnoDB;
Now that the table is created we need some code to populate it.
I started writing code to insert the data in a fairly standard manner: Create a prepared statement; set the parameters; execute the statement. Each thread was programmed to open a database connection, execute 1000 inserts, then close the connection. This approach suffered from some severe performance issues, however; I was only able to insert about 1000 rows/second per thread using this method, and even with multiple threads the maximum throughput was still only around 9000 rows/second. I also tried changing the number of rows inserted per thread (ranging from 500 to 10000), but it didn’t appreciably alter the result. Using this method it would take about 19 minutes to populate the table. I went about designing a better method.
Enter Bulk Inserts
If you’ve ever looked inside the output of a mysqldump file you would see that the insert statements are written in such a way that multiple rows are inserted for each statement as shown below:
INSERT INTO table VALUES (1,23),(2,34),(3,33),(4,39),(5,43),(6,58);
The MySQL website has an article which addresses this concept. I decided to attempt to incorporate this feature into my bulk inserter code. Here’s the result:
Inserted 10000000 rows in 0 minutes and 29 seconds (344827.6 rows/second)
Wow! That’s a 27x increase! Let’s take a look at the code and see how it’s written. The following is the run() method in the BulkInserter thread. The main function instantiated 15 threads and executed the following code 1000 times with a batchsize of 10,000
public void run() {
    StringBuilder sb = new StringBuilder();
    sb.append("insert into bulktest (text) values ");

    try{
       Connection conn = BulkProcessor.getConnection();
       for(int i=0;i<batchsize;i++){
           if(i==0){
               sb.append("(?)");
           }
           else{
               sb.append(", (?) ");
           }
        }

        PreparedStatement preparedStmt = conn.prepareStatement(sb.toString());
        for(int i=0;i<batchsize;i++){
            preparedStmt.setString (i+1, BulkProcessor.getRandomText(45));
        }

        preparedStmt.execute();
        preparedStmt.close();
        conn.close();
    }
    catch(Exception e){
        e.printStackTrace();
    }
}
This is a simple function which builds a bulk insert prepared statement and sets the `text` parameter to a random string value. Notice that there are two for loops in the code: one which concatenates the value parameters to the SQL statement and a second which sets the parameters. This is because the text of the prepared statement must be complete prior to setting the values.
Retreiving Data
To test throughput on the MySQL instance I built a simple select() function to retrieve all of the rows that were inserted. I ran out of memory when executing the function against the entire table of 10 million rows so I had to limit this test to 8 million rows:
Selected 8000000 rows in 0 minutes and 14 seconds
Avg speed: 571428 rows/sec
I ran a second test where the rows were loaded into an Object to see what type of impact object instantiation would have on performance:
Selected 8000000 rows in 0 minutes and 16 seconds
Avg speed: 500000 rows/sec
A third test appended each object to an ArrayList then removed the item from the list (again because I kept running out of memory):
Selected 8000000 rows in 0 minutes and 16 seconds
Avg speed: 500000 rows/sec
I was surprised to see that the overhead was introduced by instantiating the objects was minimal.
Manipulating Data
At this point I’m ready to update the table with the SHA-1 hash, but first I need to alter the table to accept the hash value. I timed an alter statement to set a baseline:
$ time mysql -u root -e "ALTER TABLE bulktest.bulktest ADD COLUMN hashval VARCHAR(255) NULL AFTER text;"

real 1m13.954s
user 0m0.003s
sys 0m0.003s
This ALTER statement, which took about 1 minute and 14 seconds, is my baseline theoretical max. This is the amount of time it takes the database engine to find all 10 million rows and append a <null> value to the row. You should not be able to beat this time.
Now it’s time to update the data. I started with a simple method which downloaded the data from the server, hashed the value, and executed an UPDATE prepared statement to re-submit the data to the server. Performance was, as expected, pretty poor:
Updated 10000000 rows in 30 minutes and 34 seconds
Avg speed: 5452 rows/sec
That is far too long. I’ve already discovered that I can INSERT and SELECT a large amount of data very quickly, why should UPDATE be any different?
In order to speed up the updates I took advantage of the fact that MySQL has a method to perform a join and update in the same statement. I created a new table, bulktest_temp, which contains the same columns as bulktest. I kept the SELECT function the same and altered the INSERT function to point to bulktest_temp. Finally I added another statement to the end of the script:
UPDATE bulktest,bulktest_temp SET bulktest.hashval = bulktest_temp.hashval WHERE bulktest.id = bulktest_temp.id
Executing the script yielded:
Updated 10000000 in 1 minutes and 46 seconds
Avg speed: 94339 rows/second
That’s much better. It’s also more in line with what I would consider to be reasonable and is right in line with the sum of the time it took to alter the table and select all rows. However, during the course of developing these scripts I though of a way to process all the data even faster.
Let’s Go Faster
Even though the script is able to process all of the rows much more quickly than I would have though I figured that we could speed up the execution a bit with the constraint that the full table be locked during the script execution.
To do so the code was altered to do the following:
- LOCK the bulkinsert table
- Execute the SELECT and INSERT portions of the code, but instead of inserting to a temporary table it executed against a persistent table
- TRUNCATE `bulkinsert`, then DELETE `bulkinsert`
- ALTER the newly created table to rename it to `bulkinsert`
The final results were amazing:
Updated 10000000 rows in 0 minutes and 30 seconds
Avg speed: 333333.3 rows/second
Garden Update


Ash Frame
A coworker wanted to buy one of my wife’s paintings and knew that I did a little bit of woodwork so he asked me to build a frame for it as well. Below are pictures from the build


Telephone Switching
I’m fascinated by old technology and the solutions that people came up with to solve their problems without computers. Here we can take a behind the scenes look at how telephone switching worked using relays and pulse counters.
First Hints
The first crops have started to come up. I can hardly wait!


Asparagus!
First haul of asparagus. This is the second year it’s been in the ground so I’m only picking about half of it.


Planer Stand


Credit for the design and plans go to Jeff Makiel from the Sawmill Creek forums