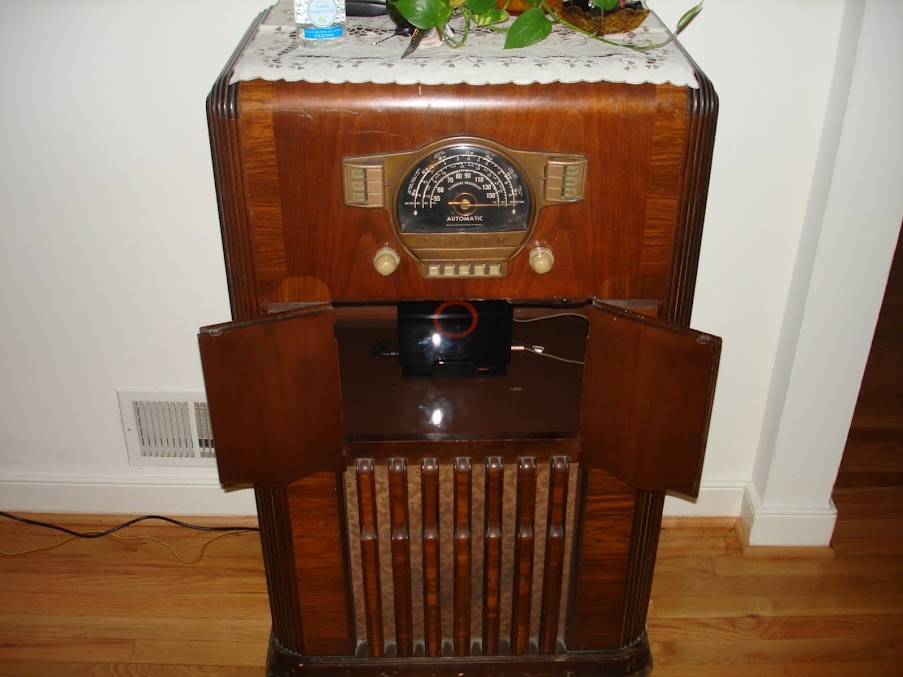
I’ve always loved the way old radios look, especially the older Zenith radios, and have wanted one for a while to act as a case for a media center PC. My wife was browsing Craigslist one night and managed to find an old Zenith for ~$60. We immediately jumped in the car, bought it, and brought it home.
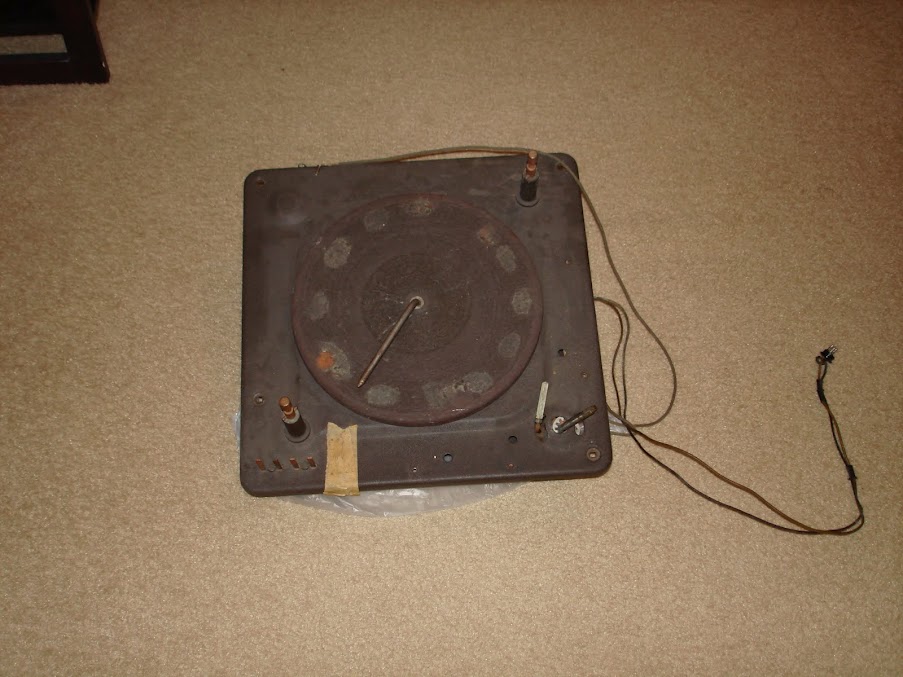
This particular model is a 7-S-582 and was first assembled in 1942 at the Zenith factory in Chicago. The 7 means that it’s a 7 tube radio and came with a 4-band tuner and a cabinet which contained a 78 rpm turntable. Both the radio and phonograph were completely inoperational.

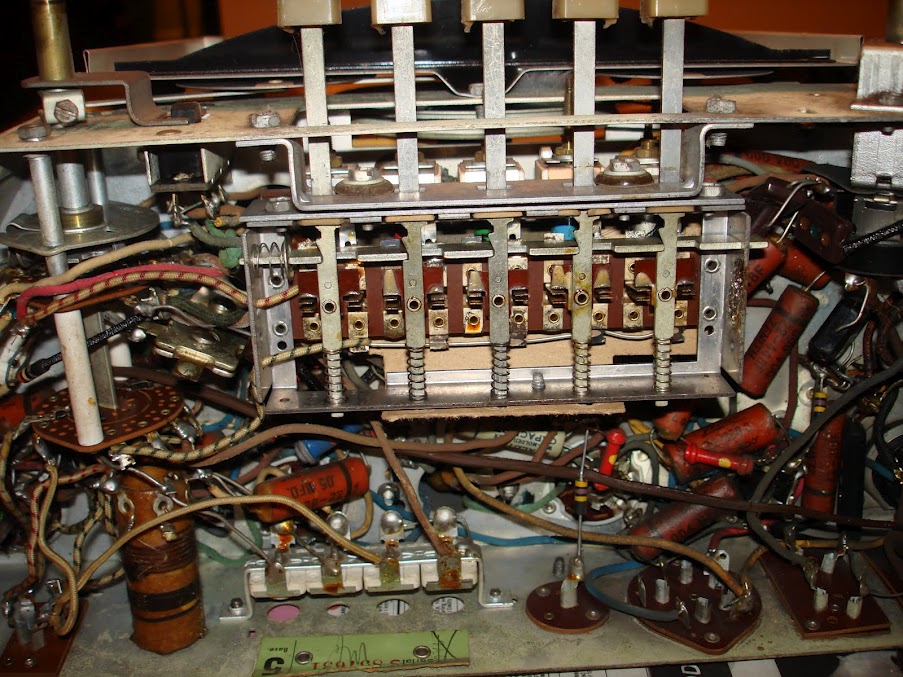
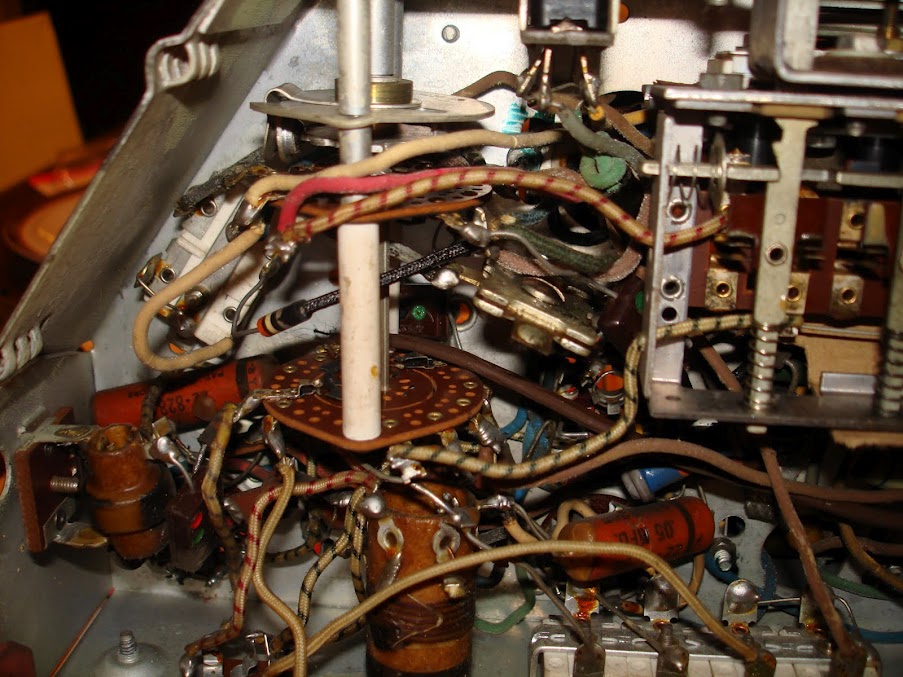
If you look closely at the underside of the chassis you’ll see there is a mix of cloth-wrapped and rubber wiring in the chassis. At 70 years old the cloth-wrapped wires are still in perfect condition. The rubber wires, however, had decayed to the point where there were potential short-circuits everywhere. I didn’t even attempt to power it on for fear of blowing a tube or transformer or starting a fire.
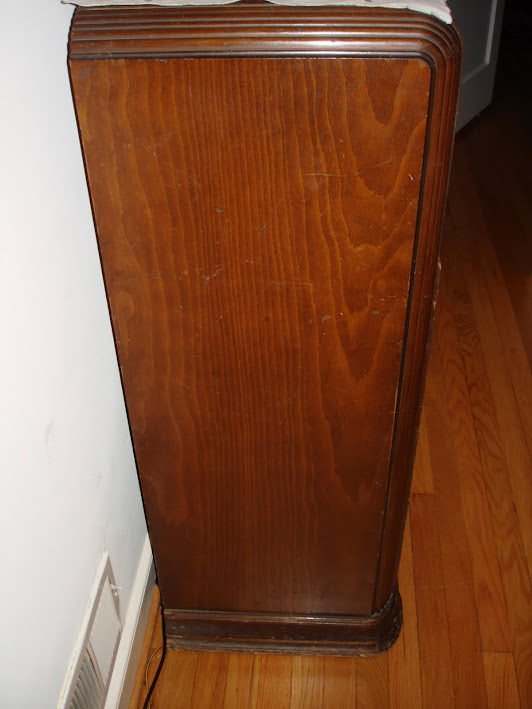
The cabinet had a lot of wear on it and had a lot of dings and scrapes where the bare wood shone through the finish. I found a Minwax stain pen in a similar color to the original stain and basically colored in the scratches. I didn’t apply any new finish to the scratches, so the while the old dings don’t stand out at a glance they are still visible in the right light:
The doors that housed the phono cabinet were in pretty poor shape and contained a number of deep gouges. These were completely refinished:
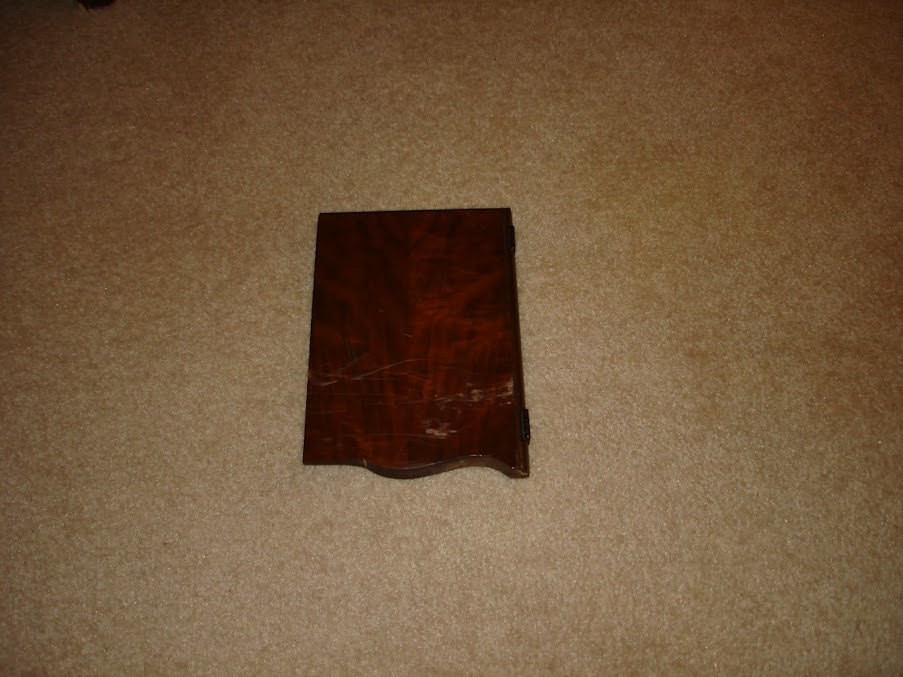
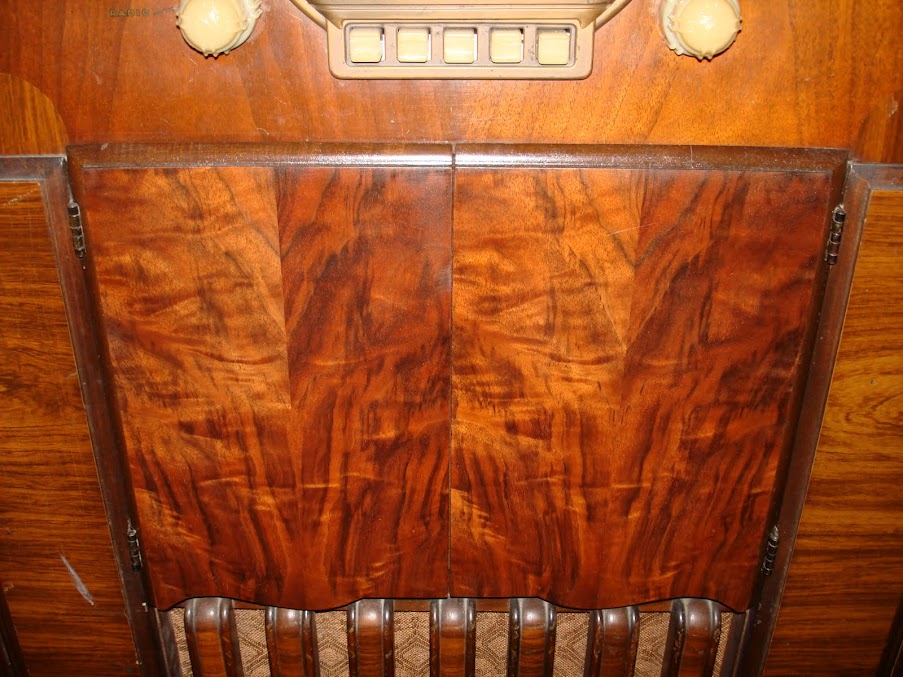
The face of the doors has a 1/16″ veneer. I carefully sanded off the old finish and smoothed out the scratches. I then applied a couple of coats of lacquer to match the original finish and ended up with a beautiful result. The photo above shows one of the remaining scratches to the left of the doors. The scratch cuts through what’s called a ‘photo finish’, which looks to be a wood-grain print which is applied to the cabinet and not a true veneer. I’ve been thinking about getting a true veneer and applying it to both sides but haven’t done so yet so the scars remain on the cabinet.
While doing the cabinet restore the thought entered my head to do a full restore and repair the radio as well. The phono was completely trashed as it was missing components and the gears were threaded, so I discarded it but decided to leverage the input as an AUX connection. After a little (ok, a lot) of googling I found a schematic for this particular model and built a parts inventory. In addition to needing new wiring, capacitors and resistors, one of the 7 original tubes was obviously broken. The website Antique Electronic Supply was stocked with everything I needed, so I ordered a new tube and all of the capacitors and resistors that needed replacing. Once everything arrived I began the task of re-soldering the decayed wires and replacing the old capacitors. I got through about 4 wires and two capacitors before deciding that this type of work was best left to a professional. I shipped the chassis off to an expert in Ohio and received a working radio about 3 weeks later. In the mean time I took the old interface to the phonograph and replaced it with an 1/8″ mini jack. After the radio was returned I reinstalled it in the cabinet and connected it to my iPod. I turned them both on and heard music pouring out of the 70 year old speaker. I’ve since installed a complete PC in the cabinet where the phonograph was originally.

